Polygraph Work Shop
Article 2
POLYGRAPH WORK SHOP
Article 1: GSR Pen whipping problems
Article 2: Repairing pneumo tube assembly
Article 3: Scratchy Thermal Pens
Article 4: Inking Capillary Pens
More articles and Helpful Tips coming soon, so please visit us again.
If you have a helpful Tip or Hint on Polygraph instrument operation or maintenance you wish to share please pass it along. I will be happy to post your suggestions here for all to take advantage of. You may email your Tips and Hints to Spectrum_dynamics@yahoo.com
Article 2: Repairing the Pneumo Chest Tube
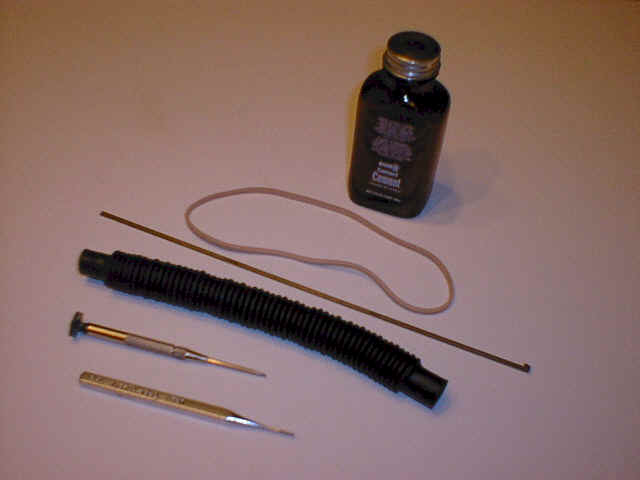
The following tools and supplies are needed.
1. Bottle of “DURA BOND” general purpose glue (Found at most hardware stores)
2. 8 inch hooked insertion tool fashioned from a piece of coat hanger or similar ridged wire.
3. Small standard flat head screwdriver.
4. Rubber bands #32 sold in most office supply stores.
5. Small metal punch.
6. Hammer. (Not Shown)
7. Convoluted Tube
Note: The following items can be purchased together (except hammer) by requesting a Pneumo Chest Tube Repair Kit Model 76513RK from Lafayette Instruments. Call 1-800-428-7545 for current price and availability.
Tools and Supplies
Using the diagrams, follow the steps below to repair the Pneumo chest tube.
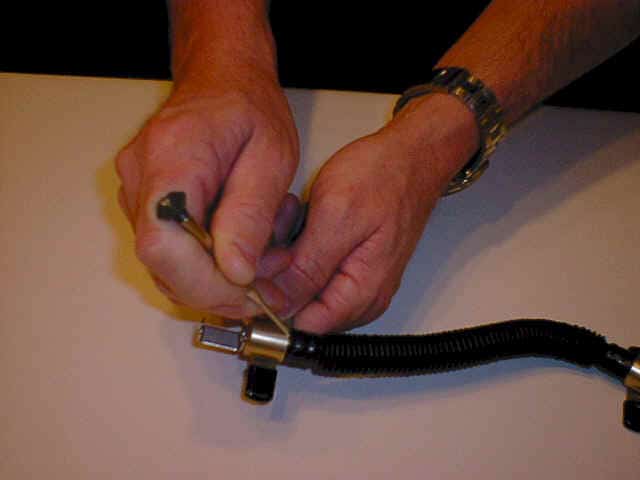
- Break the glue seal on both ends of the corrugated tube by running a small screwdriver around under the edge.
See (Diagram 1)
Diagram 1
- Hold the corrugated tube and twist one end at a time to separate it.
- Knock out the 1/16″ metal pin on both ends which retains the rubber bands.
See (Diagram 2)
Diagram 2
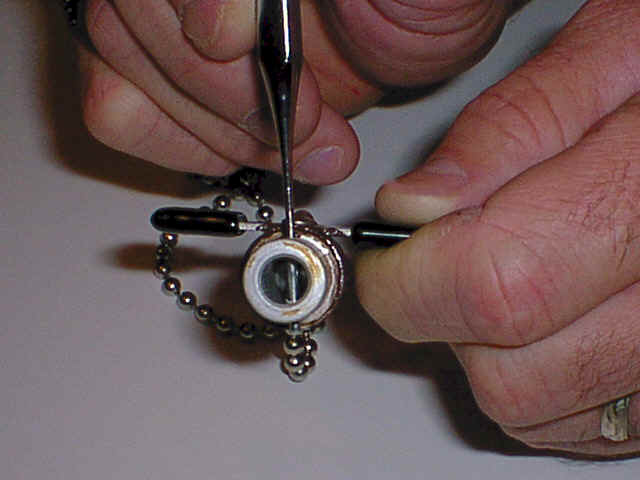
- Place one end of the new rubber band inside the end piece and drive the pin back Into place.
See (Diagram 3)
Diagram 3
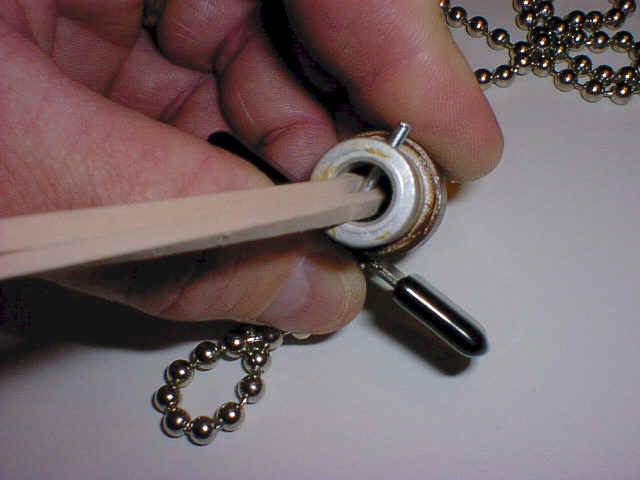
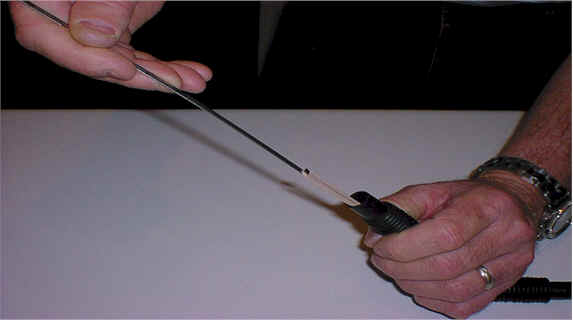
- Now using the 8-inch hooked tool, insert it through the corrugated tube, hook the rubber band and pull it all the way through.
See (Diagram 4)
Diagram 4
- Grasp the end of the rubber band and detach the tool.
- Insert the free end of the band into the end piece and drive the 1/16 Inch pin into place to secure it in place.
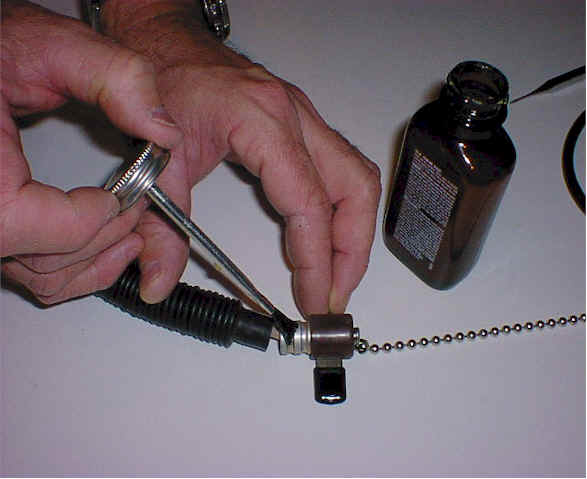
- Open the bottle of glue, apply generously to one end piece at a time, and slip the cuff of the corrugated tube on as far as possible.
See (Diagram 5)
Diagram 5
- Twist one end piece to orient the flat plates so they are parallel with each other.
- Let dry for 15 minutes.

